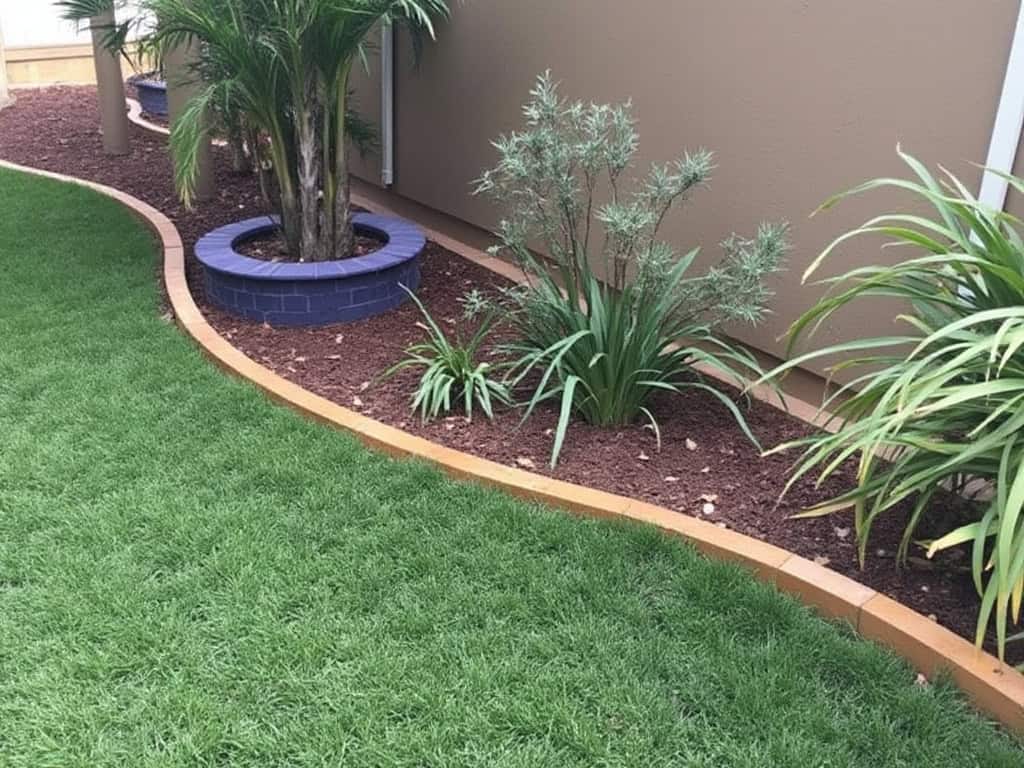
Why Choose Garden Edging?
Before we delve into the how-to, let’s consider why garden edging is essential:
-
Aesthetic Appeal: Edging creates a clean, defined line between your lawn and garden beds, making your landscaping look polished and well-maintained.
-
Maintenance: It prevents grass from creeping into your garden beds, making mowing and weeding easier and more effective.
-
Soil Retention: Edging helps keep your garden soil and mulch in place, reducing the need for frequent reapplication.
- Design Flexibility: With various materials available, you can match or contrast the edging with your garden’s theme or your home’s exterior.
Our Edging Solutions at Gympie Landscape Supplies
At Gympie Landscape Supplies, we offer a variety of edging materials to fit every style and budget:
Natural Blue Stone Edging
-
-
Durability: Blue stone is not only beautiful but also incredibly durable, resisting weather and wear.
-
Aesthetic: Its natural, earthy tones integrate seamlessly into any garden setting, giving a classic, timeless look.
-
Timber Sleepers
-
-
Versatility: Perfect for creating raised beds or terraced gardens, timber sleepers add a warm, rustic charm.
-
Functionality: They’re easy to install and can be cut or shaped to fit complex garden layouts.
-
Plastic Edging:
-
-
Flexibility: Ideal for curved garden designs or areas where you need to follow an irregular shape.
-
Cost-Effective: Offers a budget-friendly option without compromising on functionality.
-
DIY Garden Edging: Step by Step
Materials Needed
-
Your choice of edging material from Gympie Landscape Supplies
-
Garden spade or trenching tool
-
Level
-
Rubber mallet
-
Landscape fabric (optional for weed control)
-
Sand or gravel (optional for base stability)
Steps
Plan Your Layout
-
-
Decide where you want your garden beds. Use a string or hose to outline the shape.
-
Prepare the Area:
-
-
Remove any grass or weeds within the marked area. Dig a trench along your outline to fit your edging material’s depth.
-
Install the Edging:
-
-
For Blue Stone or Timber:
-
Place the stones or sleepers into the trench, ensuring they are level. Use a rubber mallet to gently tap them into place. If using landscape fabric, lay it before installing the edging.
-
-
For Plastic Edging:
-
Press the plastic into the trench, securing with stakes provided or as recommended by the product instructions.
-
-
Secure and Backfill:
-
-
Ensure your edging is stable by backfilling with soil or adding a base of sand or gravel for stability.
-
Finish Up:
-
-
Level the ground around the edging for a neat look. Trim any excess material if necessary.
-
Maintenance Tips
-
Regularly check for any movement or shifting, especially after heavy rains.
-
Touch up paint or sealant on timber sleepers to extend their life.
-
Keep the area around the edging free from debris to maintain its appearance and functionality.
Conclusion
DIY garden edging not only enhances your garden’s look but also makes your gardening tasks more manageable. At Gympie Landscape Supplies, we’re here to support your gardening projects with high-quality materials and expert advice. Visit us to see our selection of natural blue stone, timber sleepers, and plastic edging, and start transforming your garden today!


